Skip to content
Order The 29-Minute Vegan
Search
Recipes
All Recipes
Meal Type
Appetizer
Salad
Breakfast
Brunch
Condiment
Desserts
Drink
Entrees
Holidays
4th Of July
Chinese New Year
Christmas
Fathers Day
Halloween
Hanukkah
Mothers Day
New Years
St. Patrick’s Day
Superbowl
Thanksgiving
Valentines Day
Lifestyle
Fake Meat
Gluten Free
Lots Of Gluten
Low Fat
No Soy
Merch
Cookbooks
About
Contact
Browse Recipes
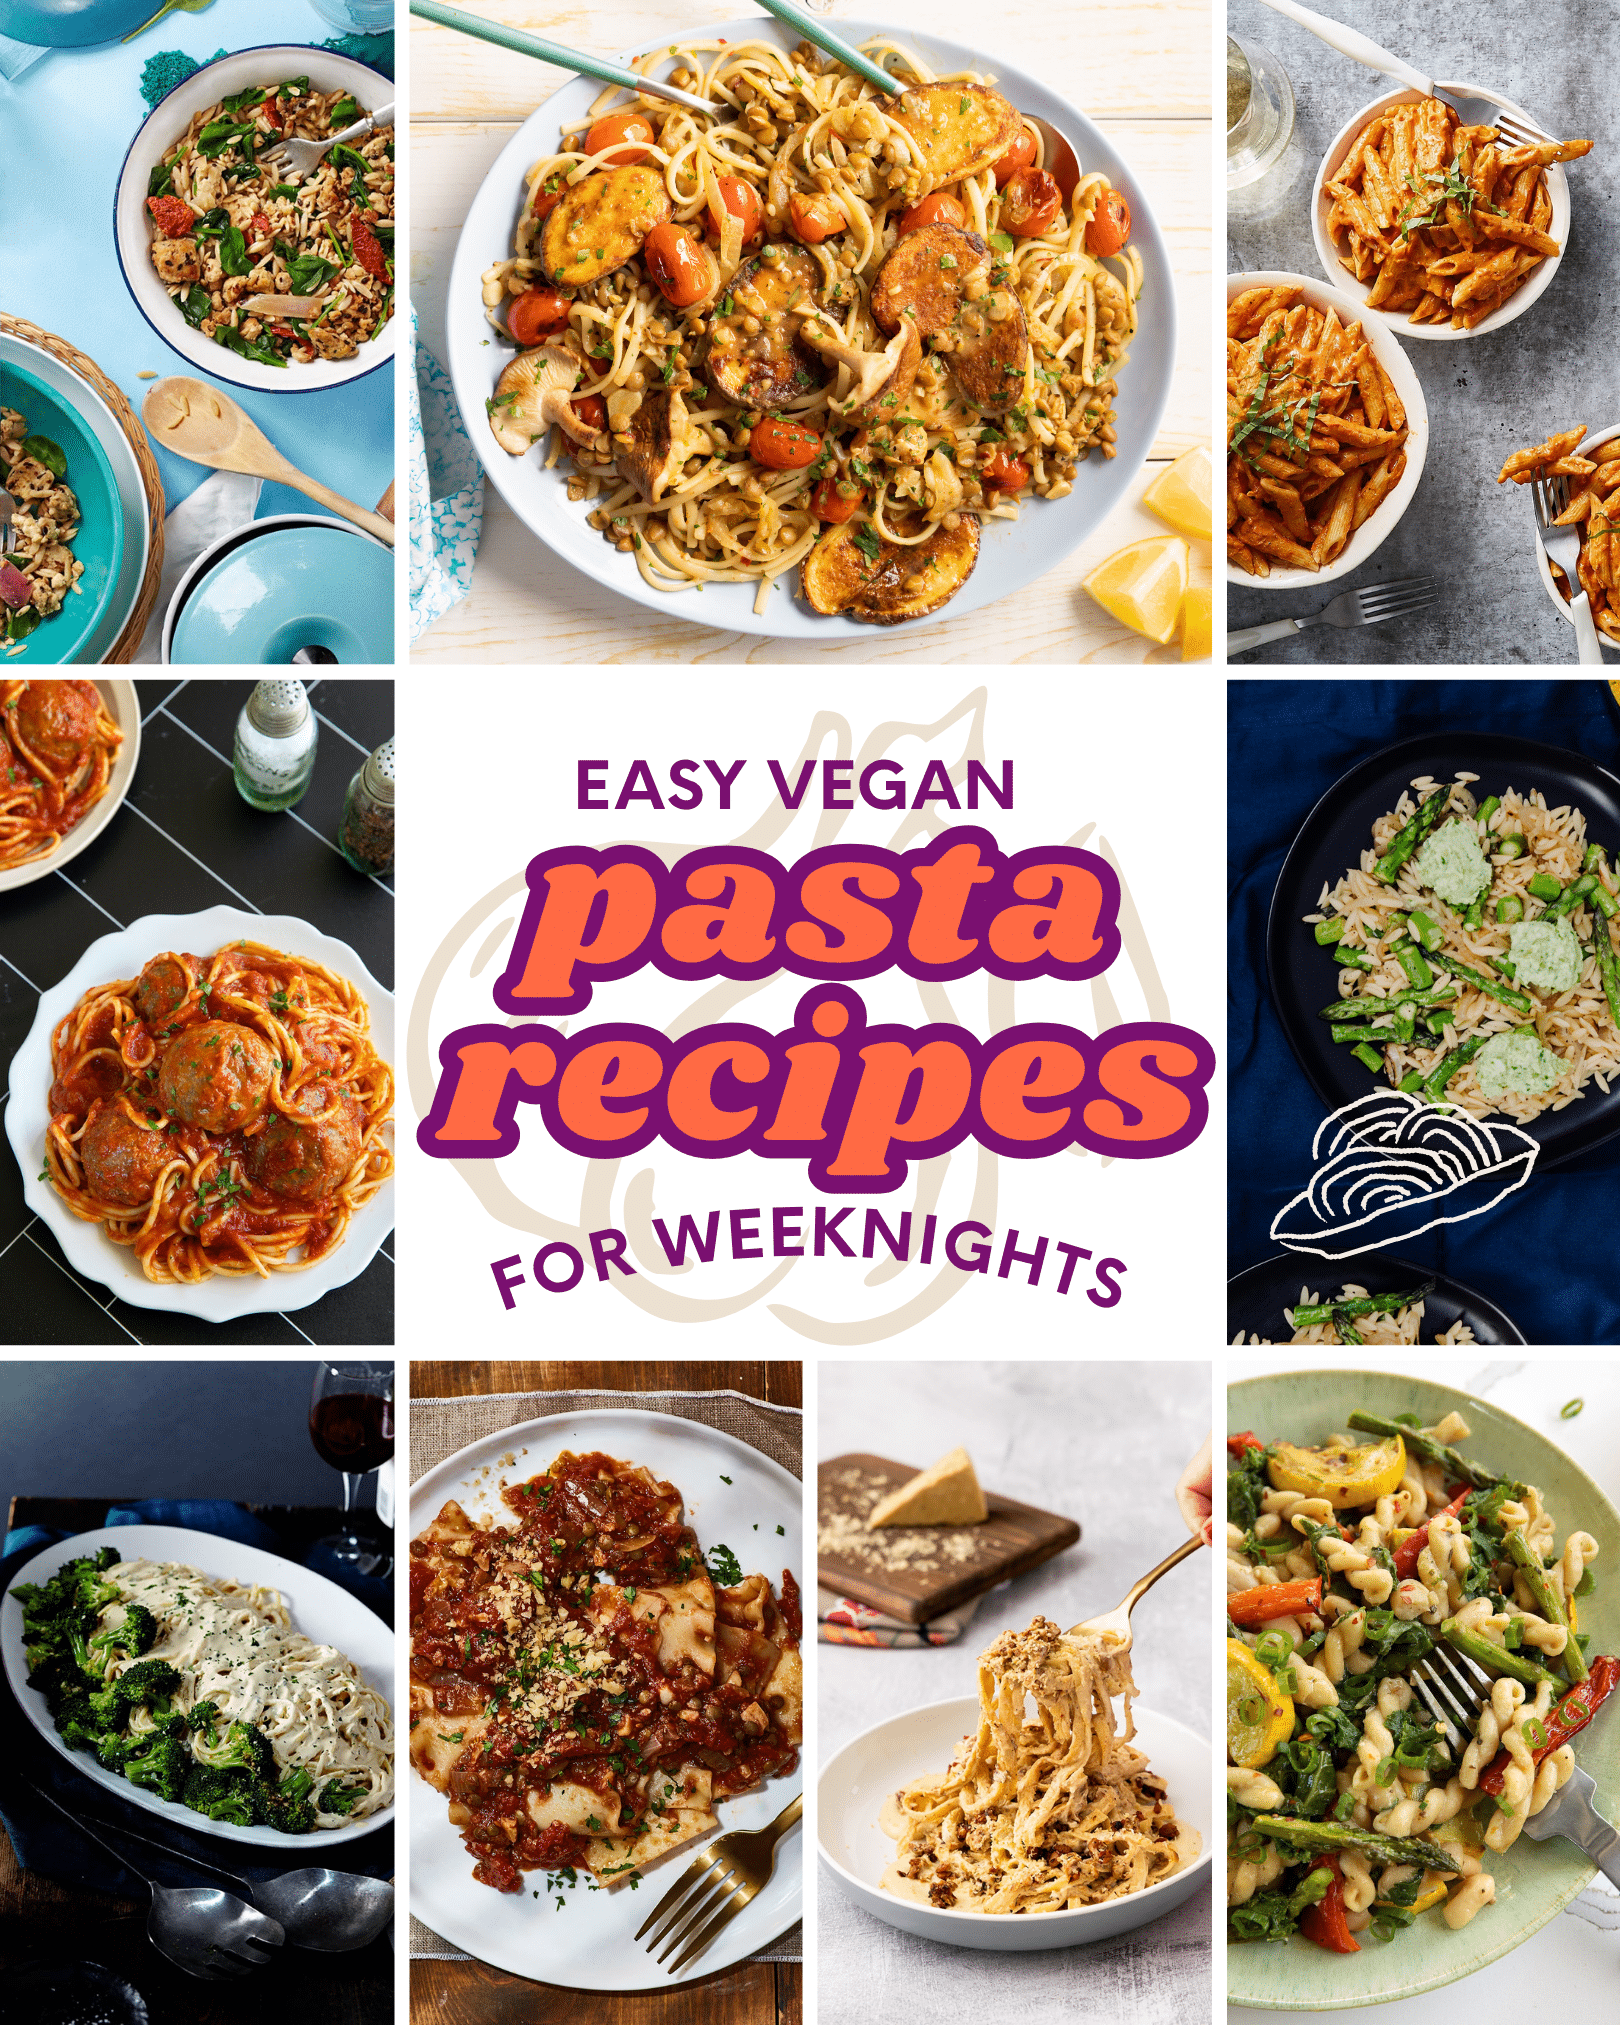
12 Easy Vegan Pasta Recipes For Weeknights
Shroom Scampi with Garlic Butter
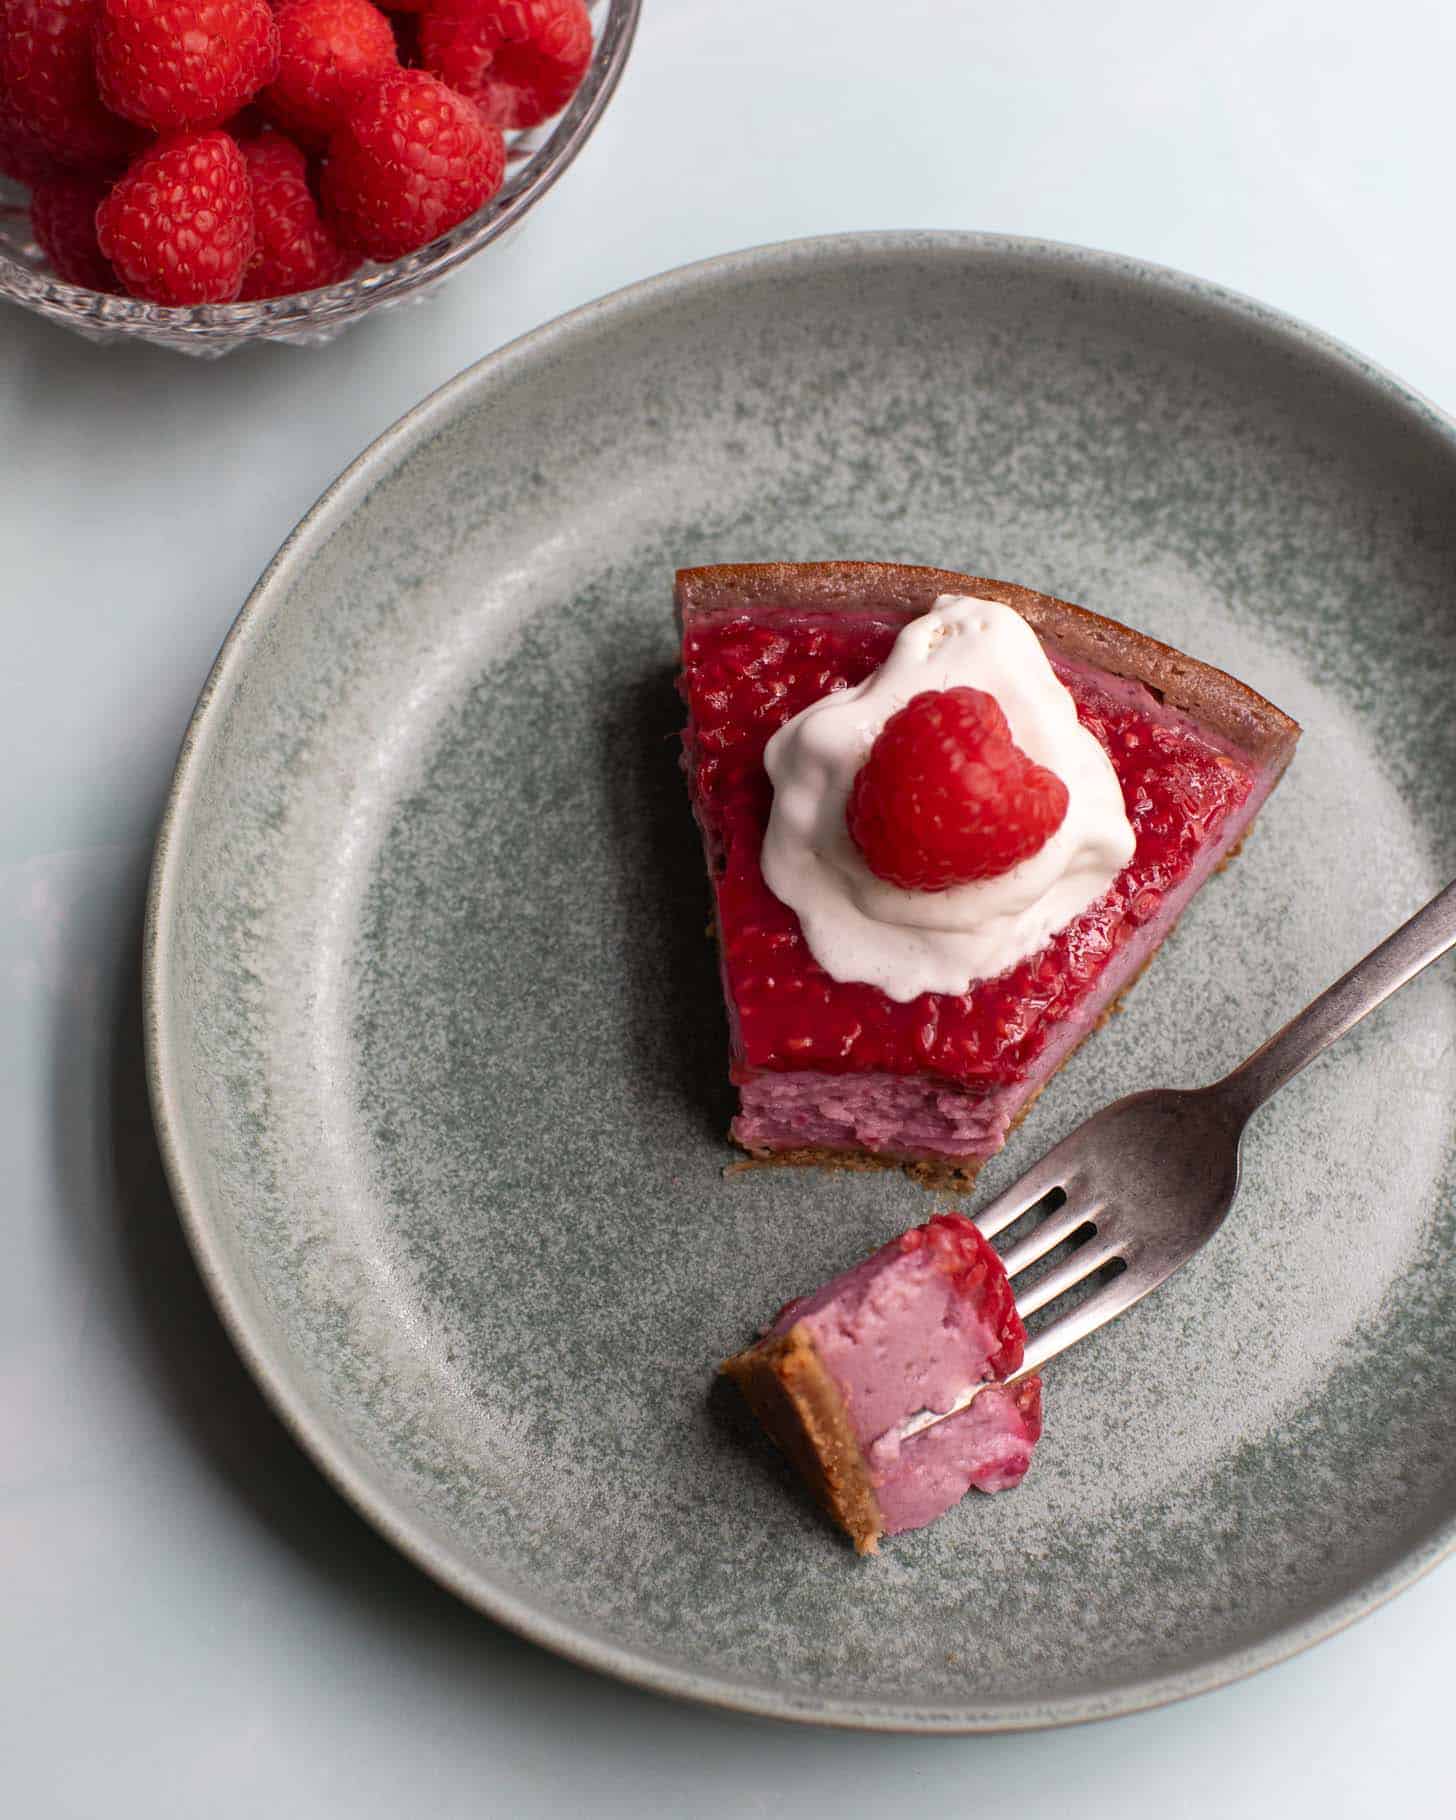
Very Raspberry Cheesecake
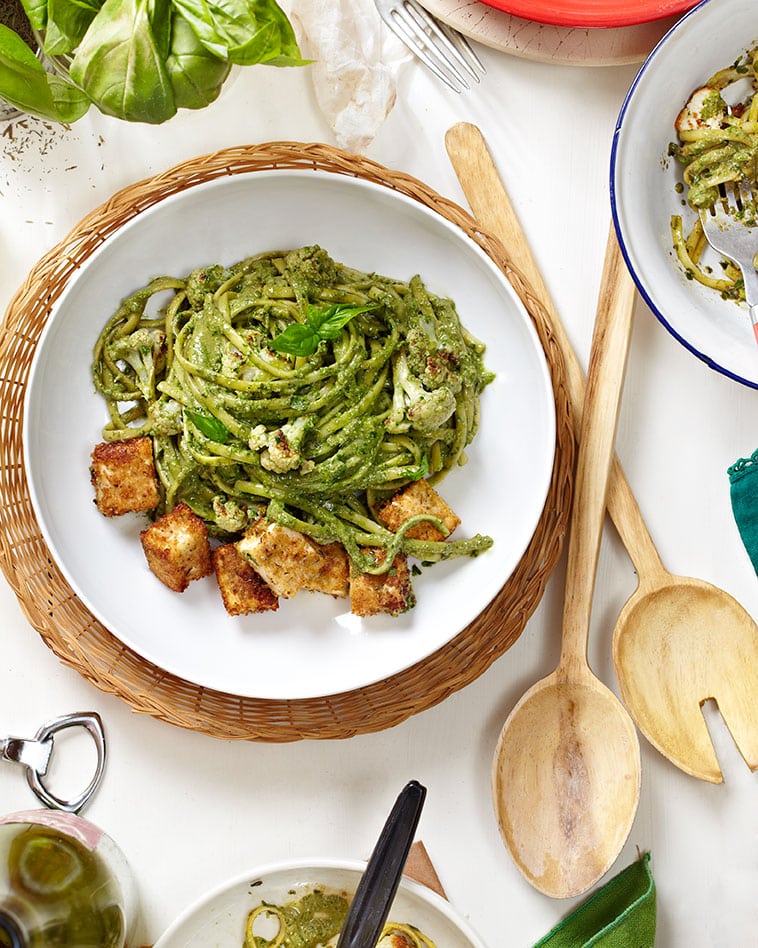
Pesto-Cauliflower Pasta with Easy Breaded Tofu
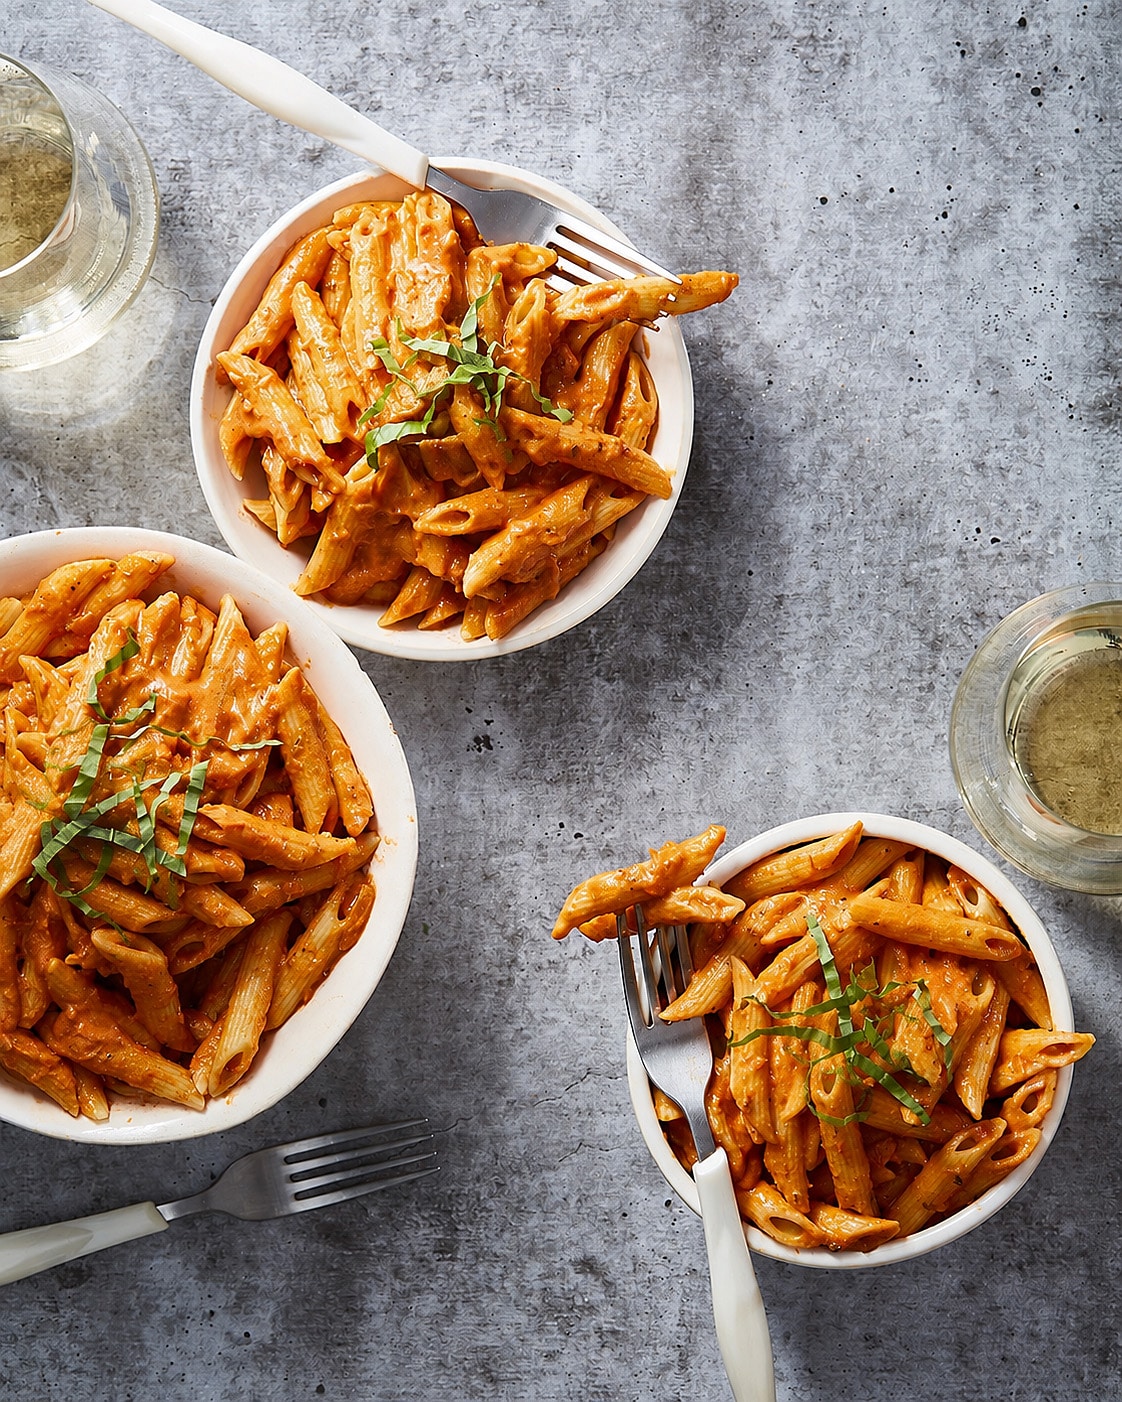
Penne alla Vodka With Cashew Cream
Lemon Pasta Primavera with White Beans
Pretty in Pink Strawberry Cupcakes
Vegan Buttercream Without Vegan Butter
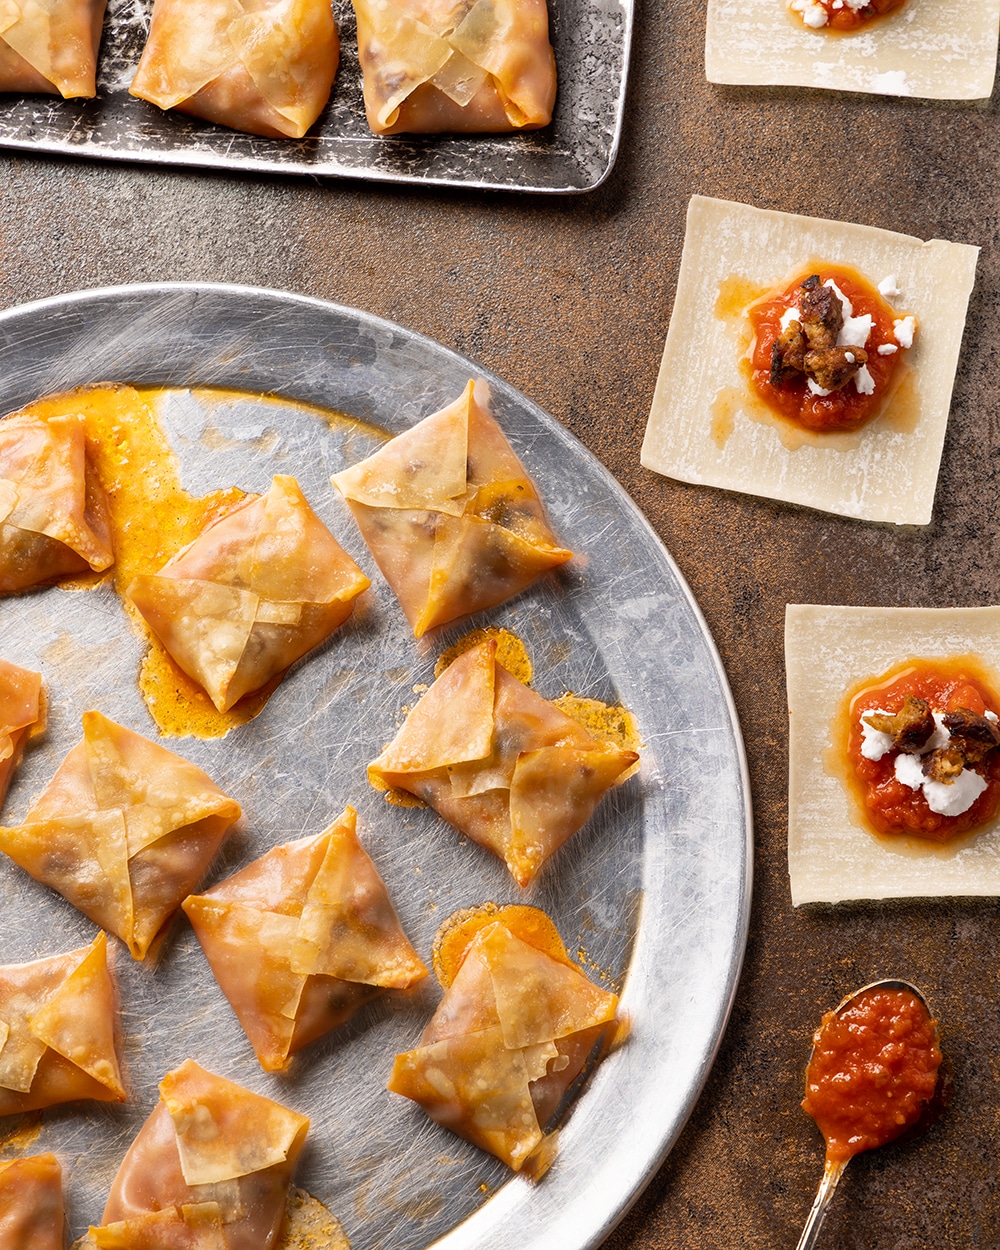
Pizza Roll Wontons
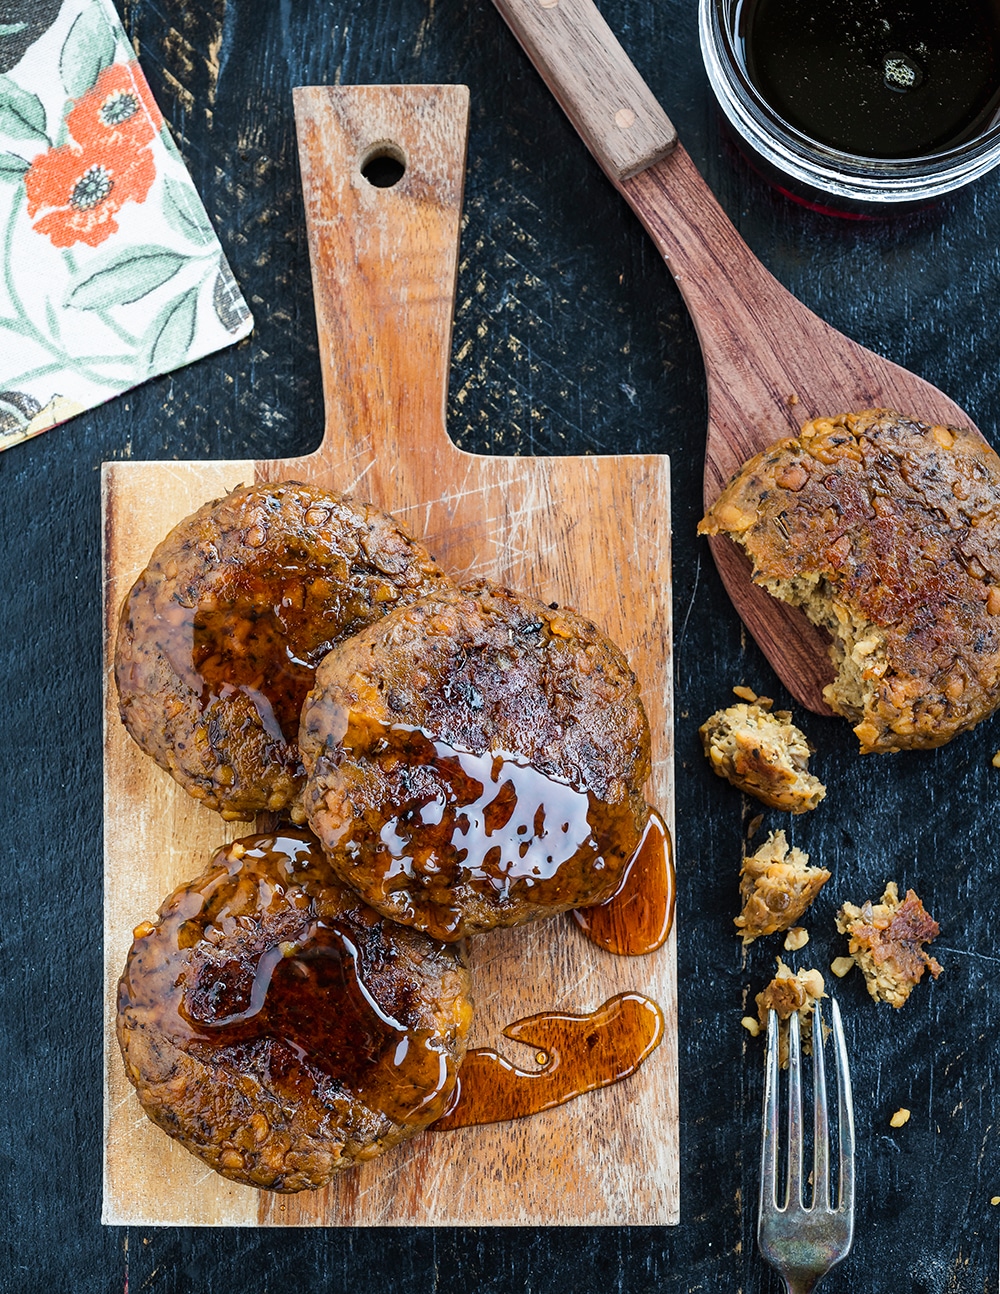
Homemade Breakfast Sausage Patties
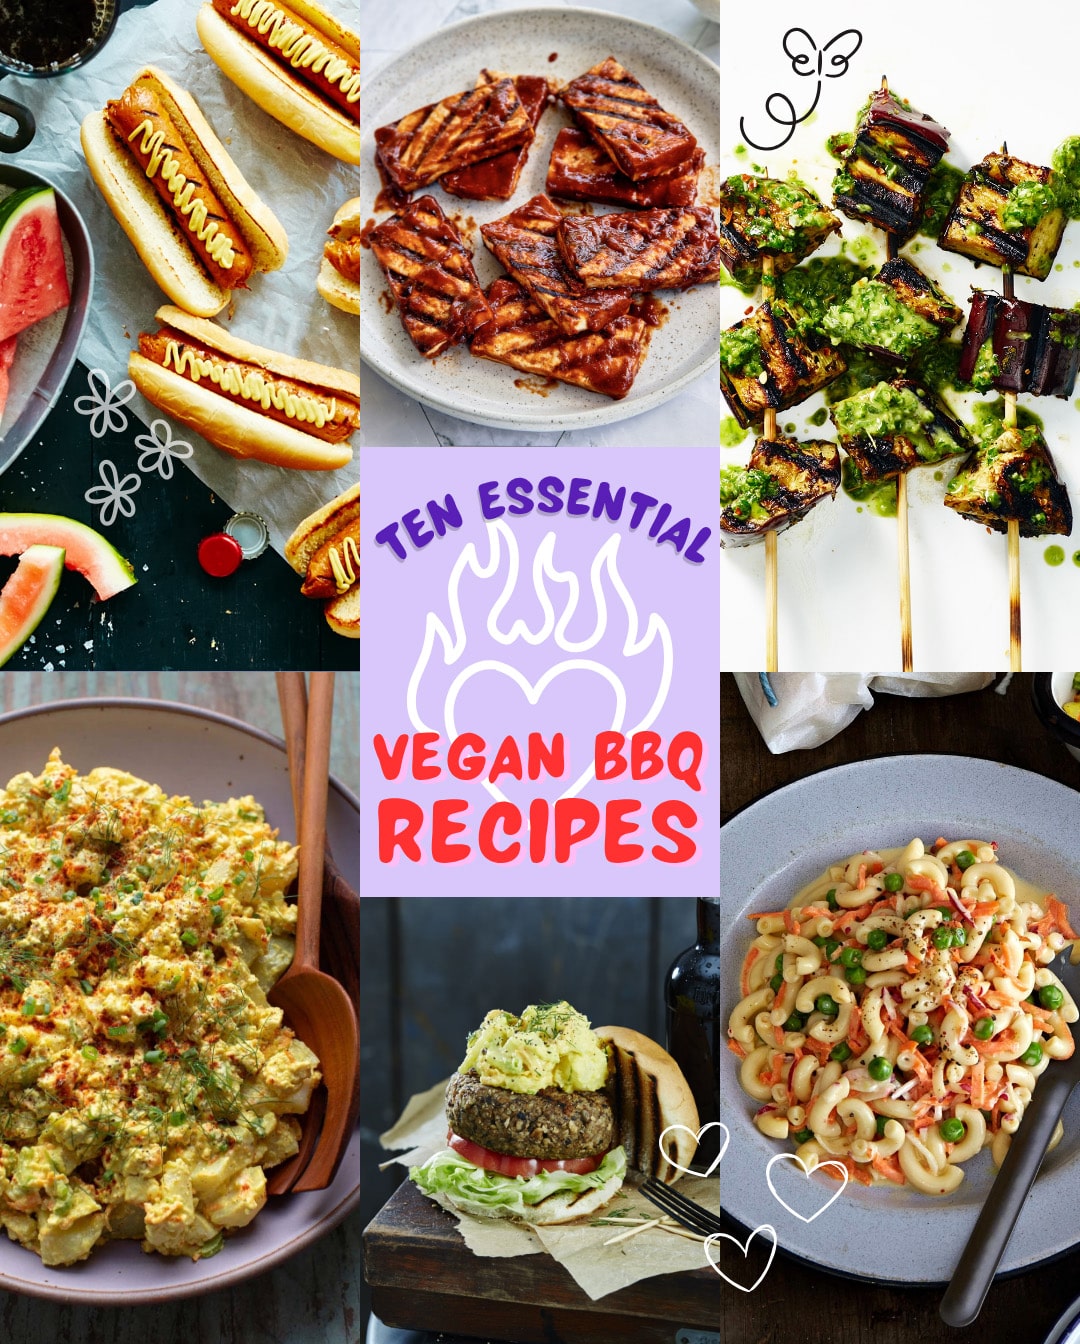
Vegan Barbecue Season: 10 Essential Recipes
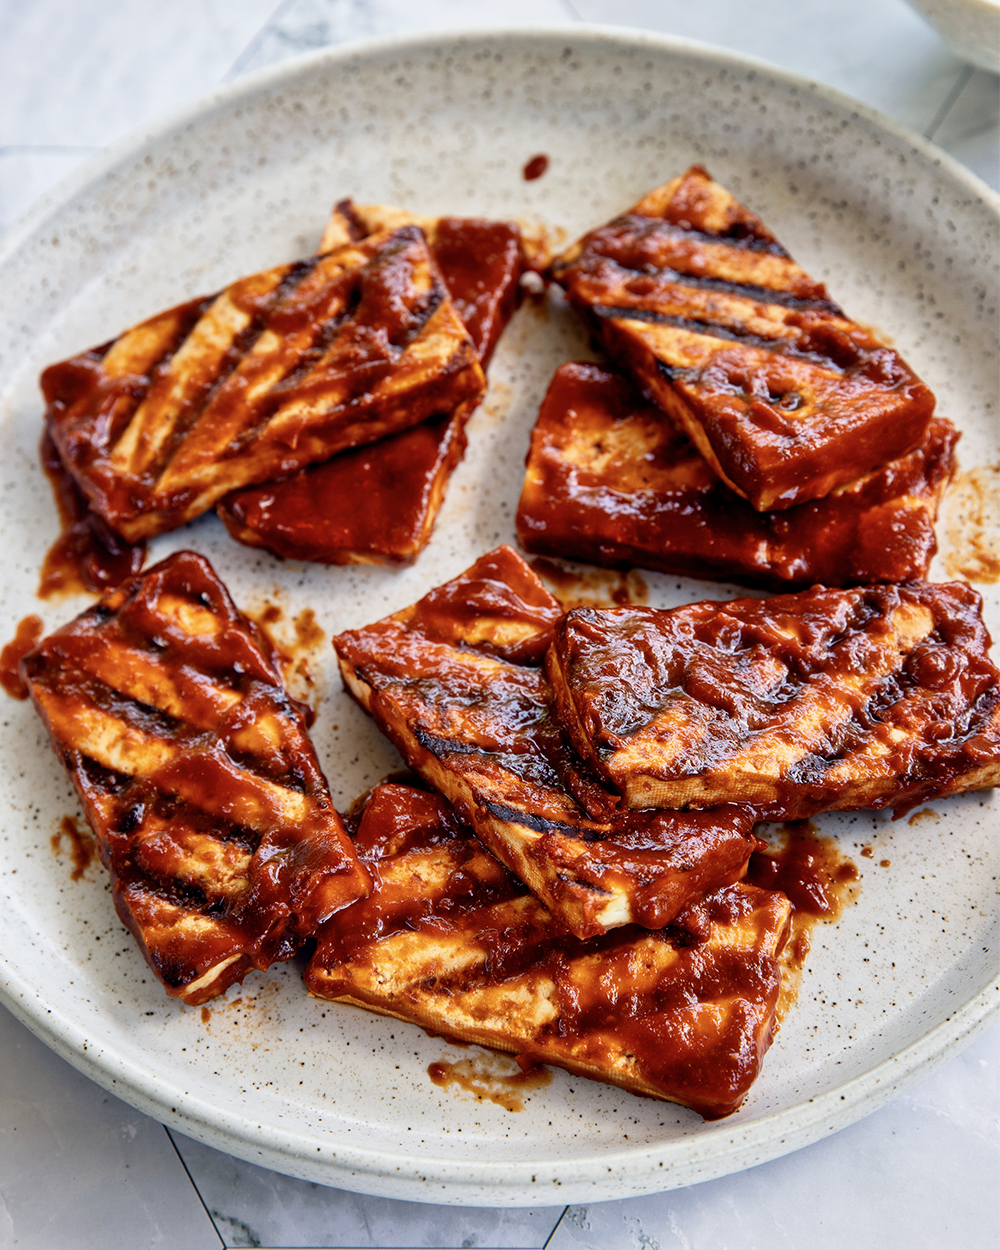
BBQ Tofu, Baked or Grilled
No posts found
1
2
3
4
5
6
7
8
9
10
11
12
13
14
15
16
17
18
19
20
21
22
23
24
25
26
27
28
29
30
31
32
33
Filter
by Meal Time
Appetizer
Breakfast
Brunch
Condiment
Desserts
Drink
Entrees
Sides
by Lifestyle
Fake Meat
Gluten Free
Lots Of Gluten
Low Fat
No Soy
by Season
Autumn
Spring
Summer
Winter
by Holiday
4th Of July
Birthday
Chinese New Year
Christmas
Cinco De Mayo
Easter
Fathers Day
Halloween
Hanukkah
Mothers Day
New Years
Oscars Party
Passover
St. Patrick's Day
Superbowl
Thanksgiving
Valentines Day
Search Recipe Index
Search